To create something from wood is an art. Wood working can be a joy and very rewarding when you get the right tools and materials. Wood working involves transforming raw wood into a finished artefact or furniture. Wood is a versatile building material and wood working projects can be as simple and as complex as you like. To build a project from scratch you will need power tools, hand tools, power tool accessories, measurement tools, fastners, wood glue, finishes, hardware and many more materials.
Wood working essentially involves the following steps:
- Cutting wood to size
- Joining the wood with adhesives and fastners.
- Finishing the wood to protect and make it look good.
- Adorning the work piece with hardware fixtures.
- Fitting hardware to make the work piece functional.
Cutting and Planing of Wood
Wood is extracted from tree trunks and branches. Loggers chop the trees and transport them as logs. The logs are then sent to a saw mill that sizes them. Your project inevitably starts off with a block of wood that has been cut and sawed at such a saw mill. The logs are cut into standard sizes such as 4"x4", 6"x6", 4"x2", 10"x2", 12"x2" etc depending on the size and type of the log of wood.
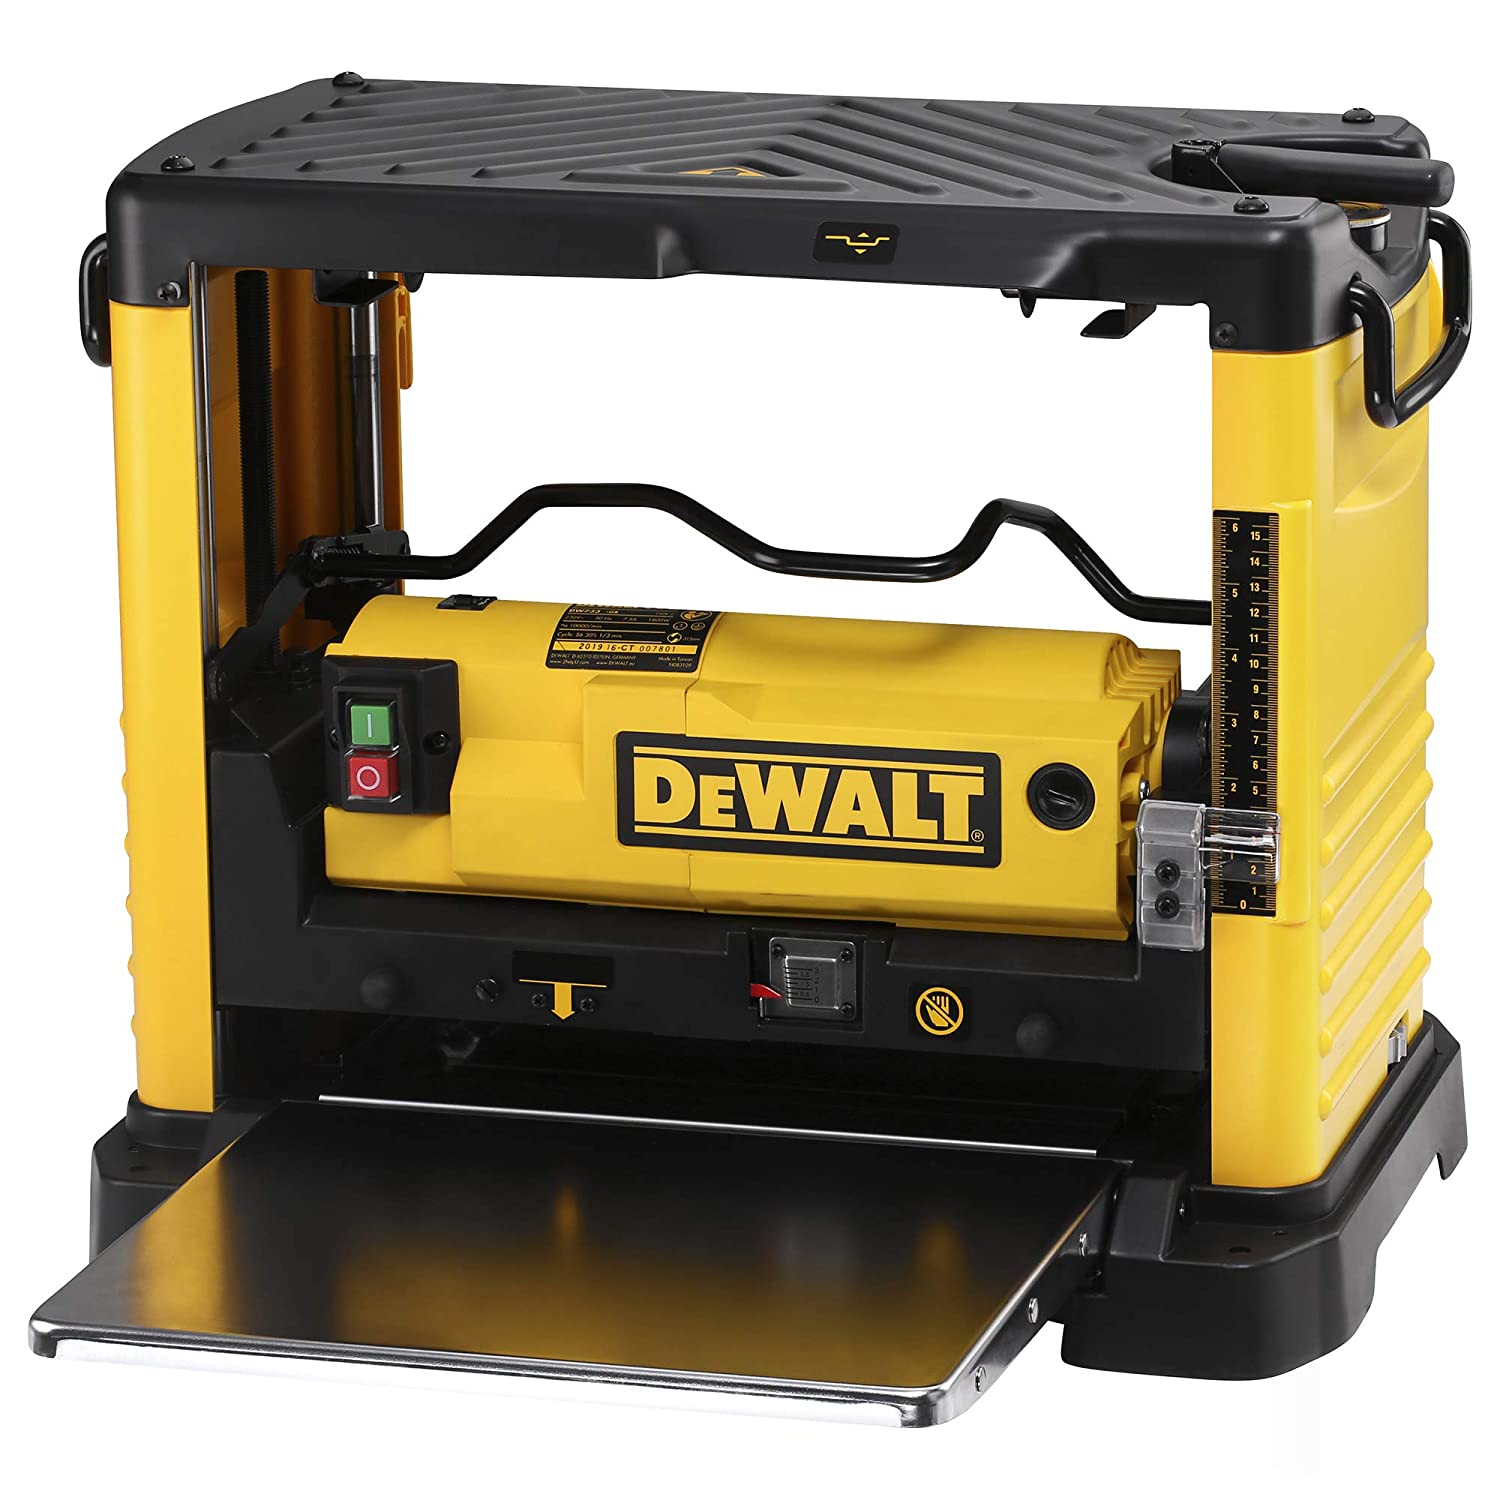
These cut sizes are then available for wood working at your wood shop. The cut sizes are rough-cut and need to be planed to make them flat and square. A planer can be used to achieve this.
What is a Planer?
The planer is an electric machine that feeds wood under a spinning blade which levels the wood by shaving/chipping off excess wood. The wood is fed on a conveyor or slid in from one end and the planed wood slides out the other end.
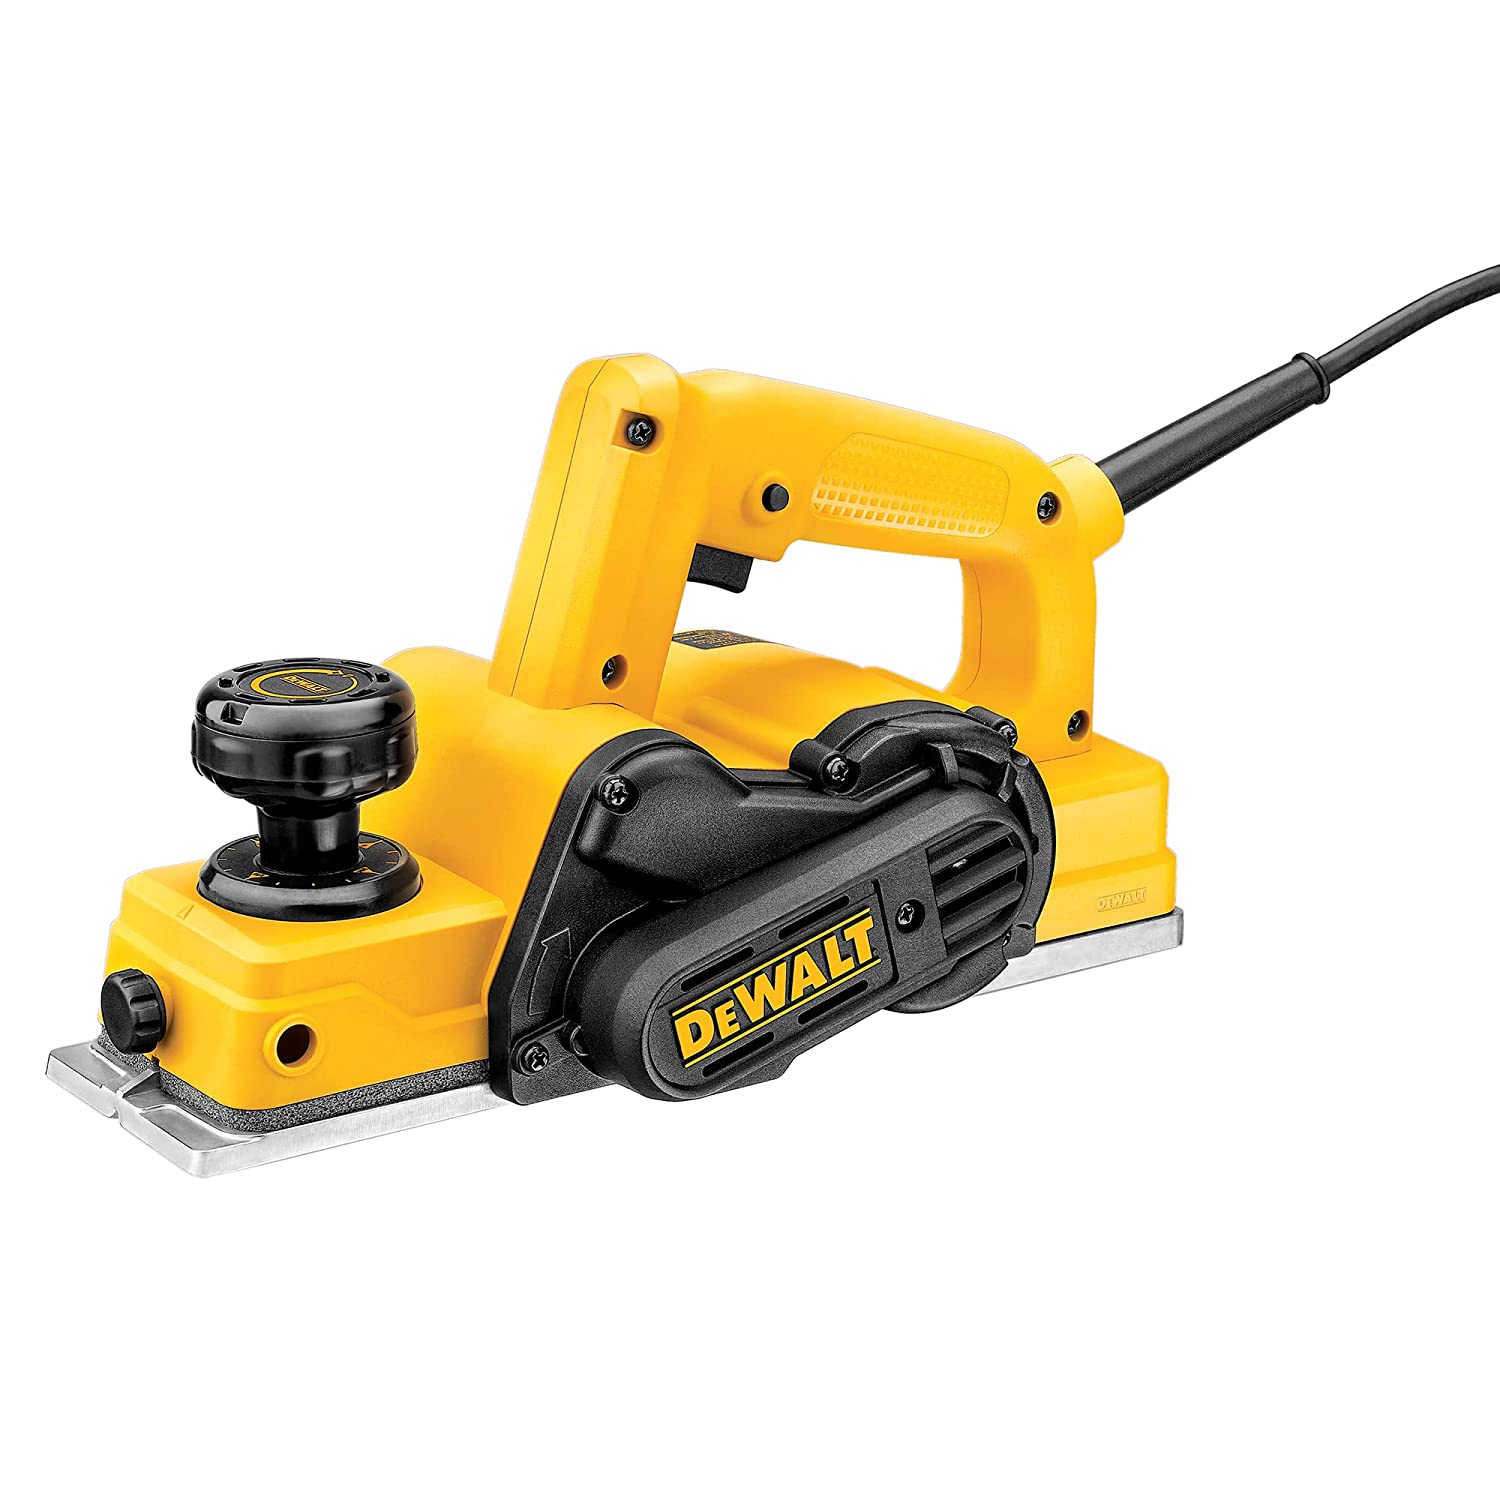
Another type of planer that is handheld is ideal for small pieces of lumber. The handheld planer is highly portable and easy to carry to jobsites. Although the handheld planer is not as accurate as the bench top planer, it is ideal for use on small pieces of wood.
The planed wood is smooth and flat. Next, the planed wood has to be cut to size. The wood has to be either cut lengthwise, along the grains (rip cuts) or breadthwise, across the grain of the wood (cross cuts). For rip cuts, a table saw is used and for cross cuts, a miter saw is used. For workshops with limited space and for job sites, the above 2 cuts can also be achieved using a handheld circular saw. The circular saw will need additional guides but is far more economical to own than the miter saw and the table saw.
What is a Table Saw ?
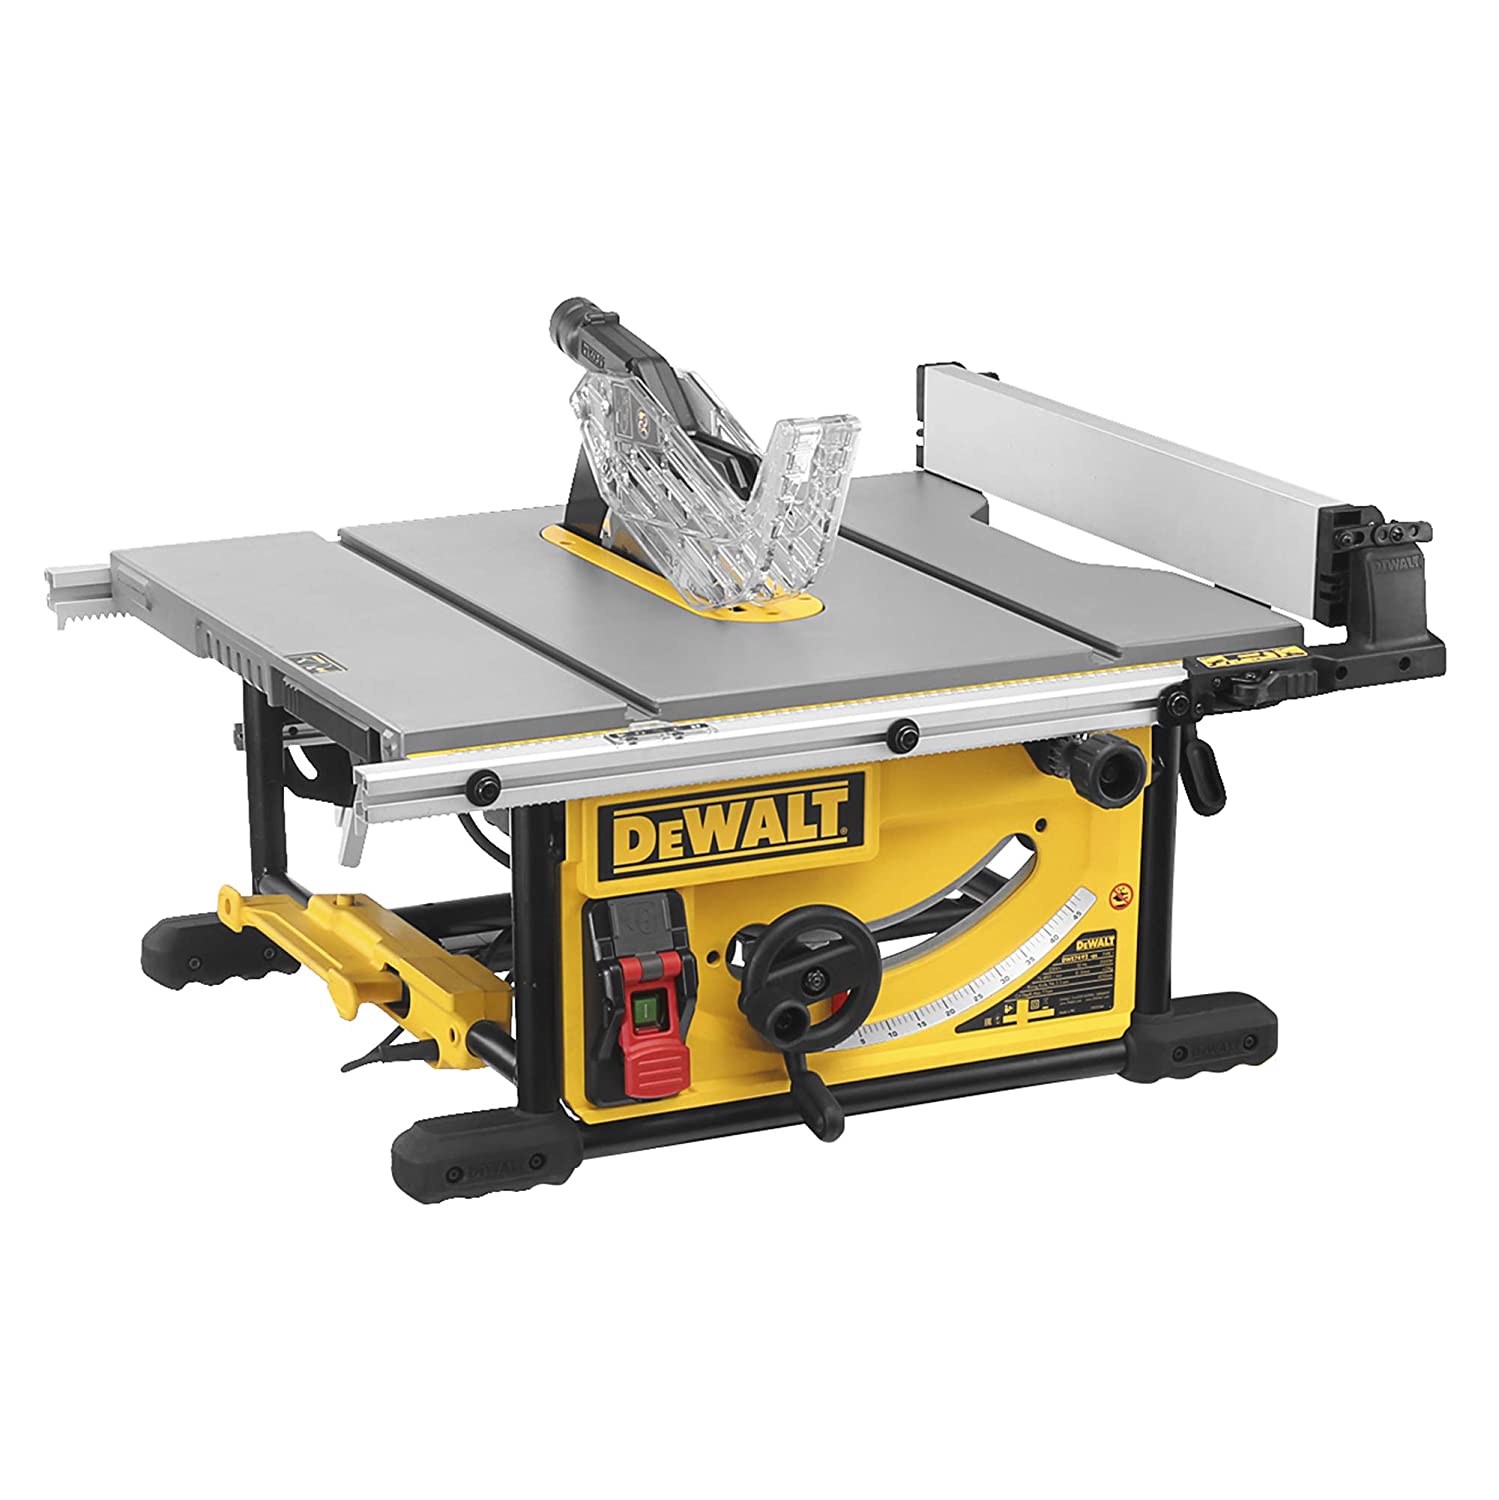
A Table Saw cuts wide pieces of wood into narrow pieces lengthwise (rip cuts). Cutting using a table saw can be achieved by feeding the wood into the saw blade along the guide rail. The most popular table saws use a 10" (250mm) blade.
What is a Miter Saw?
For breadthwise cutting (cross cuts), that is to cut long lengths of wood into shorter lengths, a miter saw or a chop saw is useful.
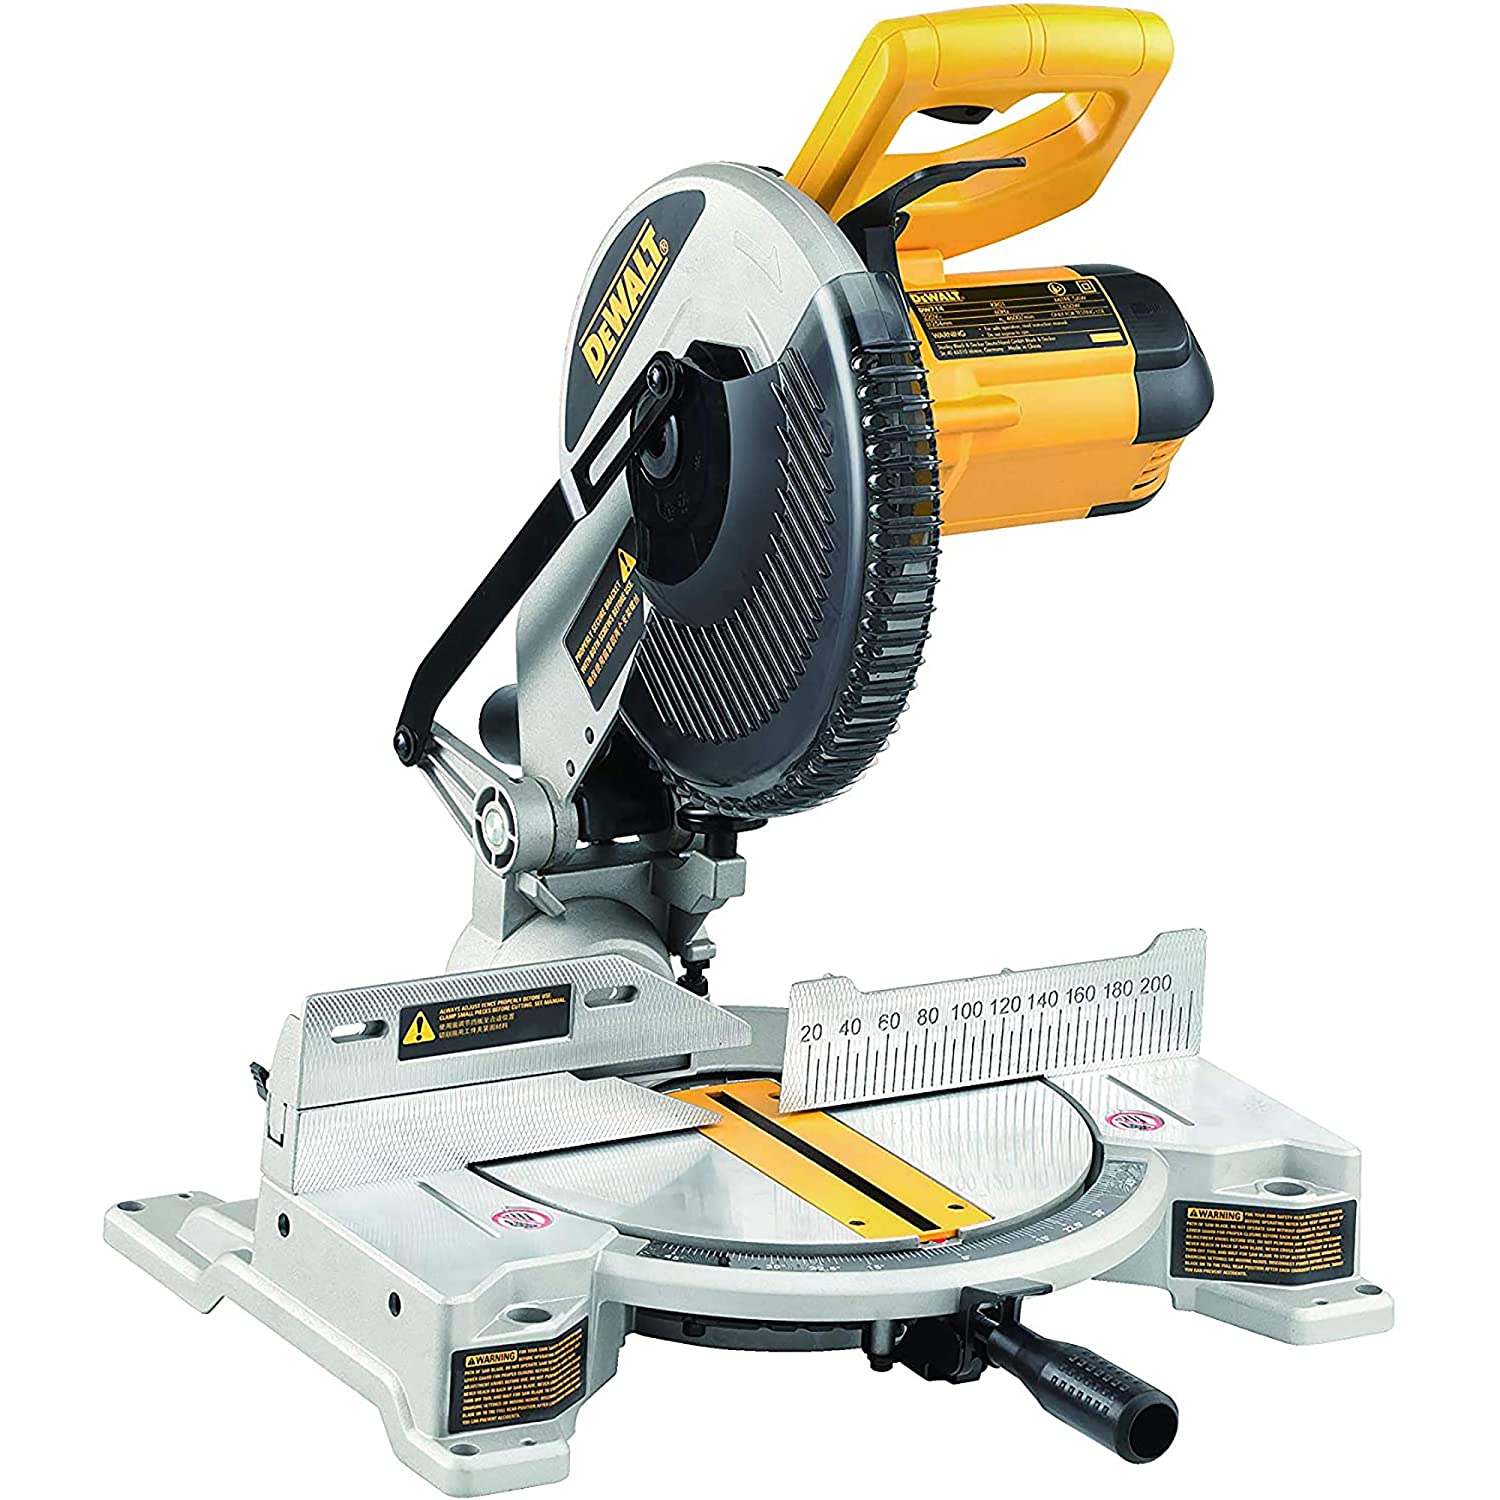
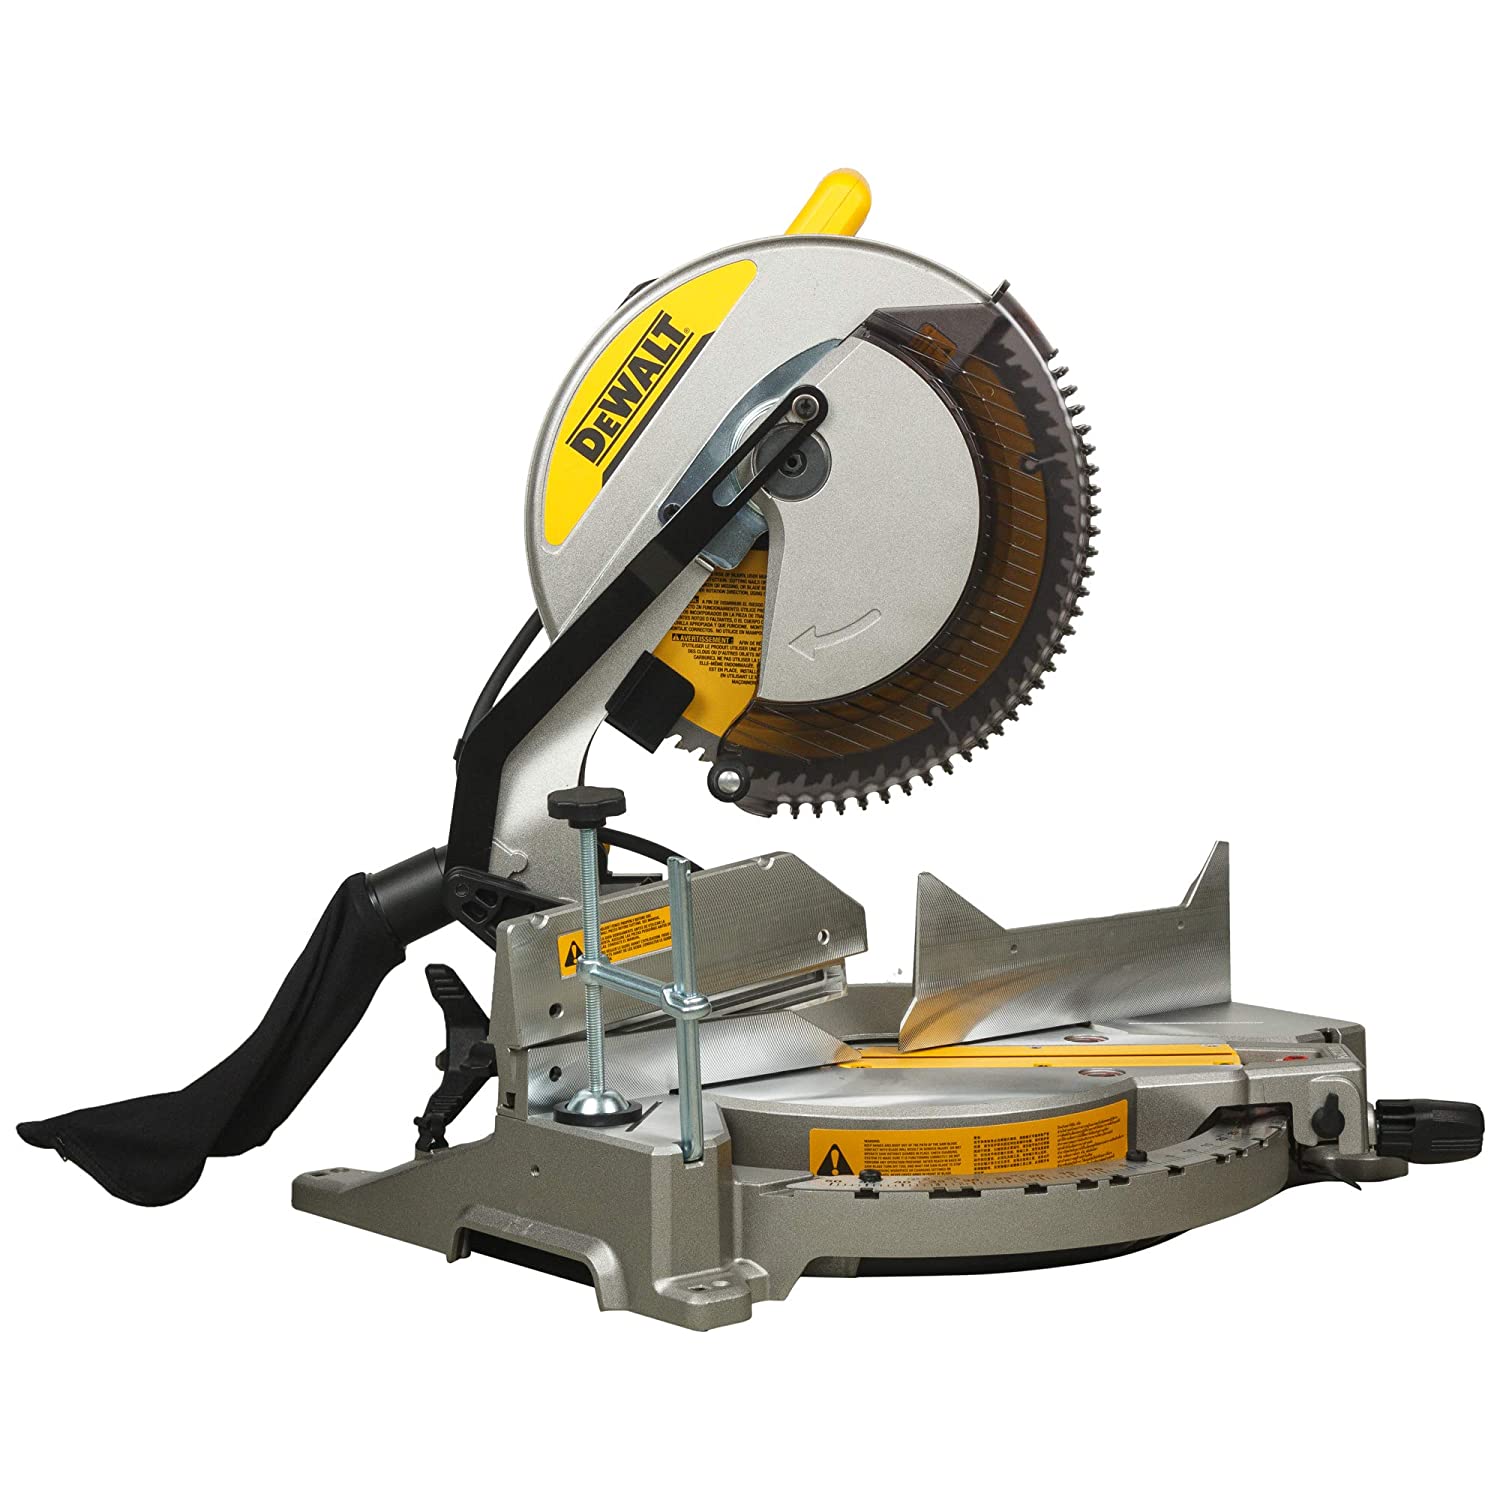
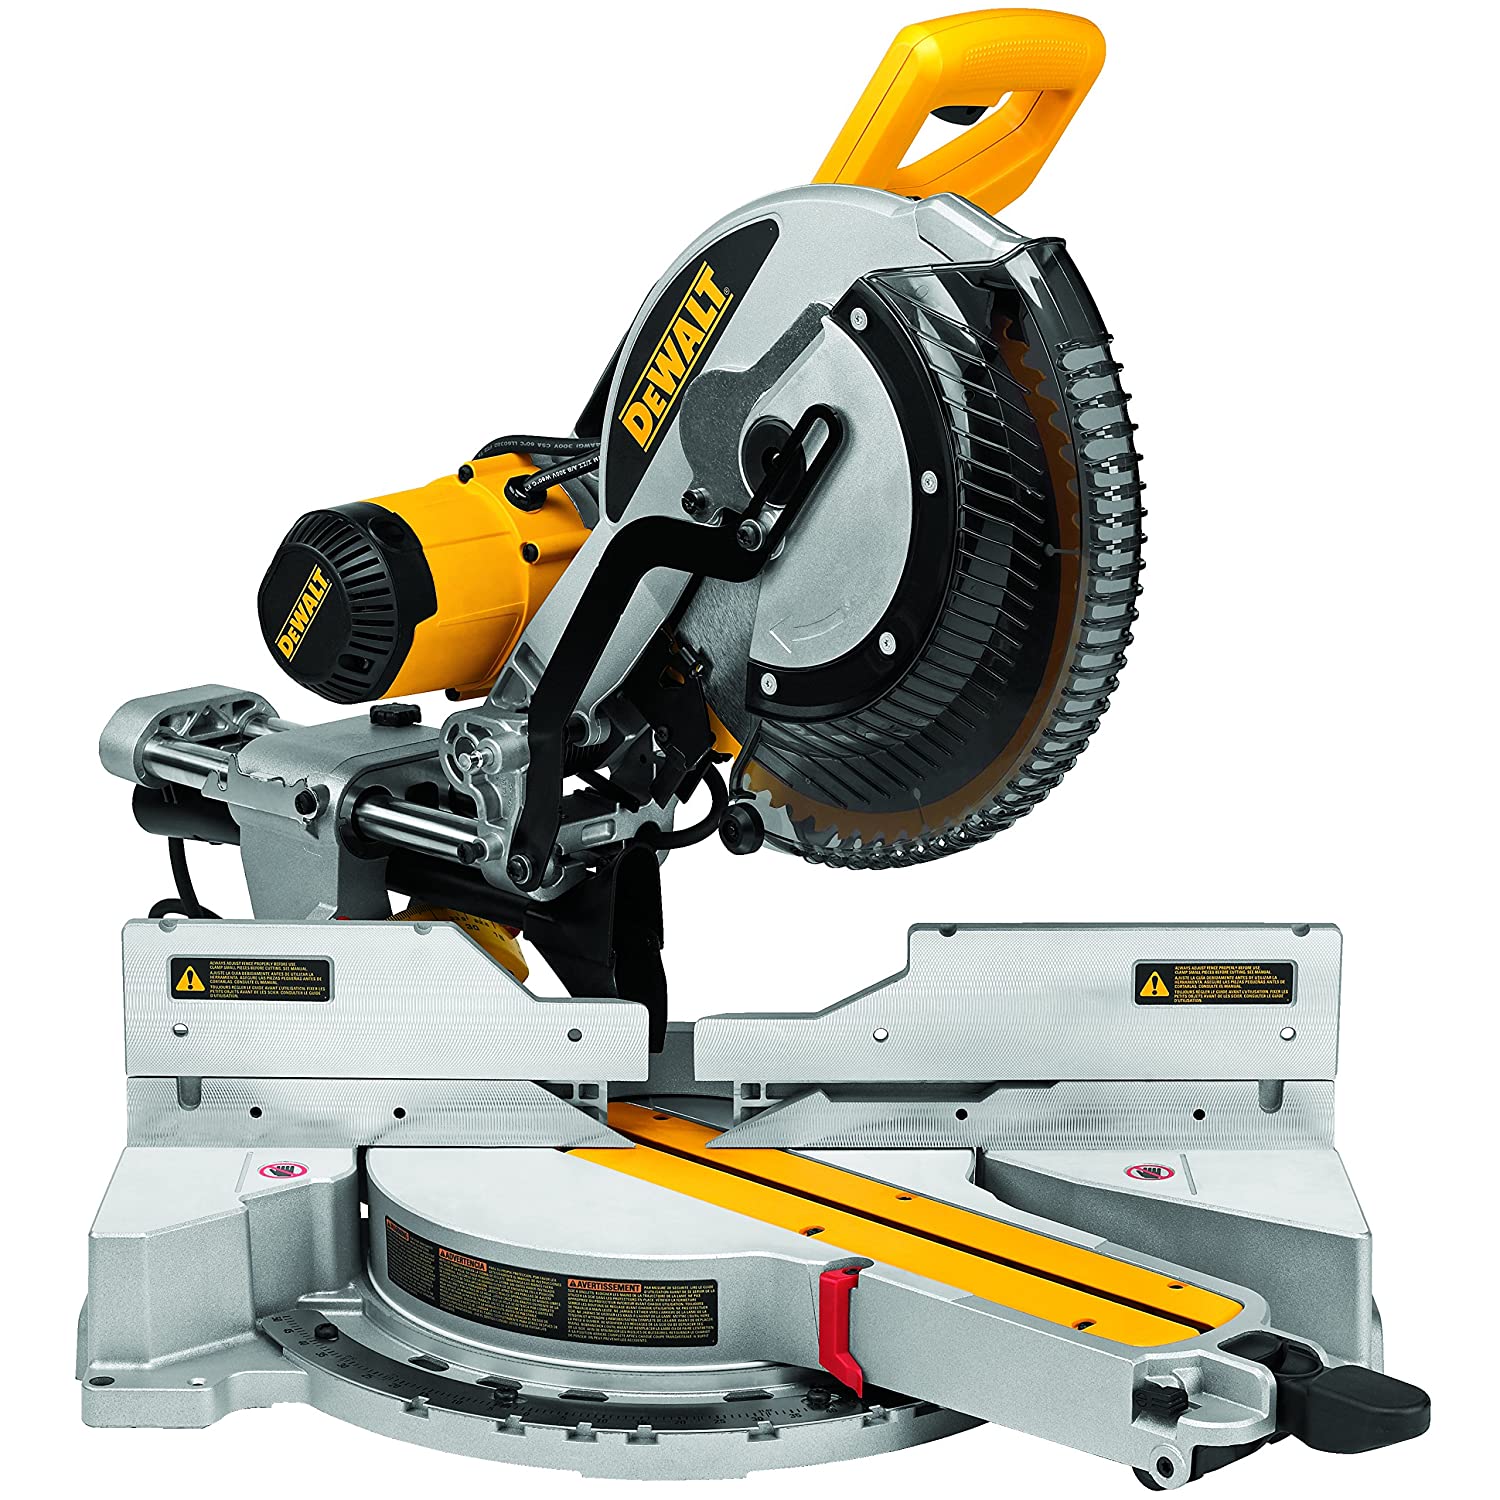
The miter saw uses a 10" (250mm) or a 12" (300mm) blade.A 10" miter saw can cut a two-by-six (2"x6") at 90º and a two-by-four (2"x4") at 45º. A 12" miter saw can cut a four-by-eight (4"x8") at 90º and a four-by-four (4"x4") at 45º.
Another type of miter saw that is capable of bevel cuts as well is called a compound miter saw. Compound miter saws have the same capacity as a regular miter saw.
Yet another type of miter saw is called a Sliding Compound Miter Saw, that has a sliding mechanism for the saw blade to cut even wider timber.
The wood could also be engineered wood such as plywood or MDF. Now that you have sourced the wood, you will need tools to work the wood.
You will, in all probability need a Circular Saw to begin with. In the old days it was the handsaw, but with the convenience and accuracy of power tools, it is the Circular Saw that is your first friend on your wood working journey. To learn how to use a circular saw is a skill every wood worker must possess.

