Viking Rack Bolt Screws for wash basins are ideal for wall mounted basins. They are made of mild steel and are nickel plated for a long rust free life. The set contains :
- 115mm (4.5") length x 10mm (3/8") thick screws - 2pcs
- Rubber Washers - 2pcs
- Brass Washers - 2pcs
- Dowels (Nylon wall plugs) - 2pcs
- Brass Nickel plated Nuts - 2pcs
- Flanged bushes - 2pcs
- Spanner - 1pc
Features & Benefits
- The screw is made with mild steel and nickle plated. As compared to zinc plating, nickle plating provides more corrosion resistance.
- Load bearing capacity is 300kg per pair.
- Nut and washer are made with brass. Brass nuts or washers do not get stuck after catching rust.
- The set includes a spanner so that you do not need to hammer the bolt. Hammering the bolt can lead to bolt failure.
- The dowel used is made of nylon. Nylon sleeves are tougher than PVC sleeves and provide effective grip inside the wall.
Installation Instructions
- Mark the positions on the wall where the rack bolt is to be installed for the wash basin.
- Drill a hole of 12mm in the wall using a pneumatic hammer. Clean out the drilling dust.
- Place the nylon dowel in the drilled hole.
- Insert the bolts pointed side into the dowels and tighten using the spanner provided.
- Ask for help to hang the basin on the bolts and check to see if enough thread is available to fasten the nuts and washers.
- Position the basin and insert the washers in the following order : Flanged bush - rubber washer - brass washer.
- Lightly tighten the nuts on both the bolts and check for alignment.
- After a satisfactory alignment is achieved, fasten the nuts and check for a secure fit.
Tips
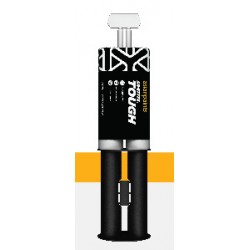
- Always use a pnuematic hammer like this one
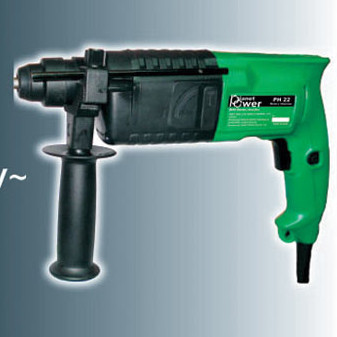 , rather than an impact drill.
- Never hammer the bolts, always tighten using the spanner.
- Follow the order in which the bushes and washers have to be placed.
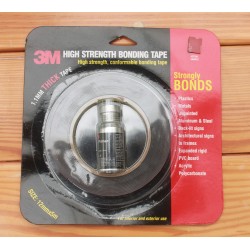
- Before final tightening of the nuts, it is recommended that you use a good quality sealant to seal the gap between the wall and the basin and then finally tighten the nuts. We recommend
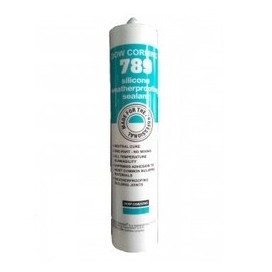 for this purpose. Tool the sealant after the final fitting to spread the sealant out neatly. Allow the sealant to set for 4 hours.